Fighting Errors: My Story of Building an API with Hono & Drizzle
______________________________________________
About Project
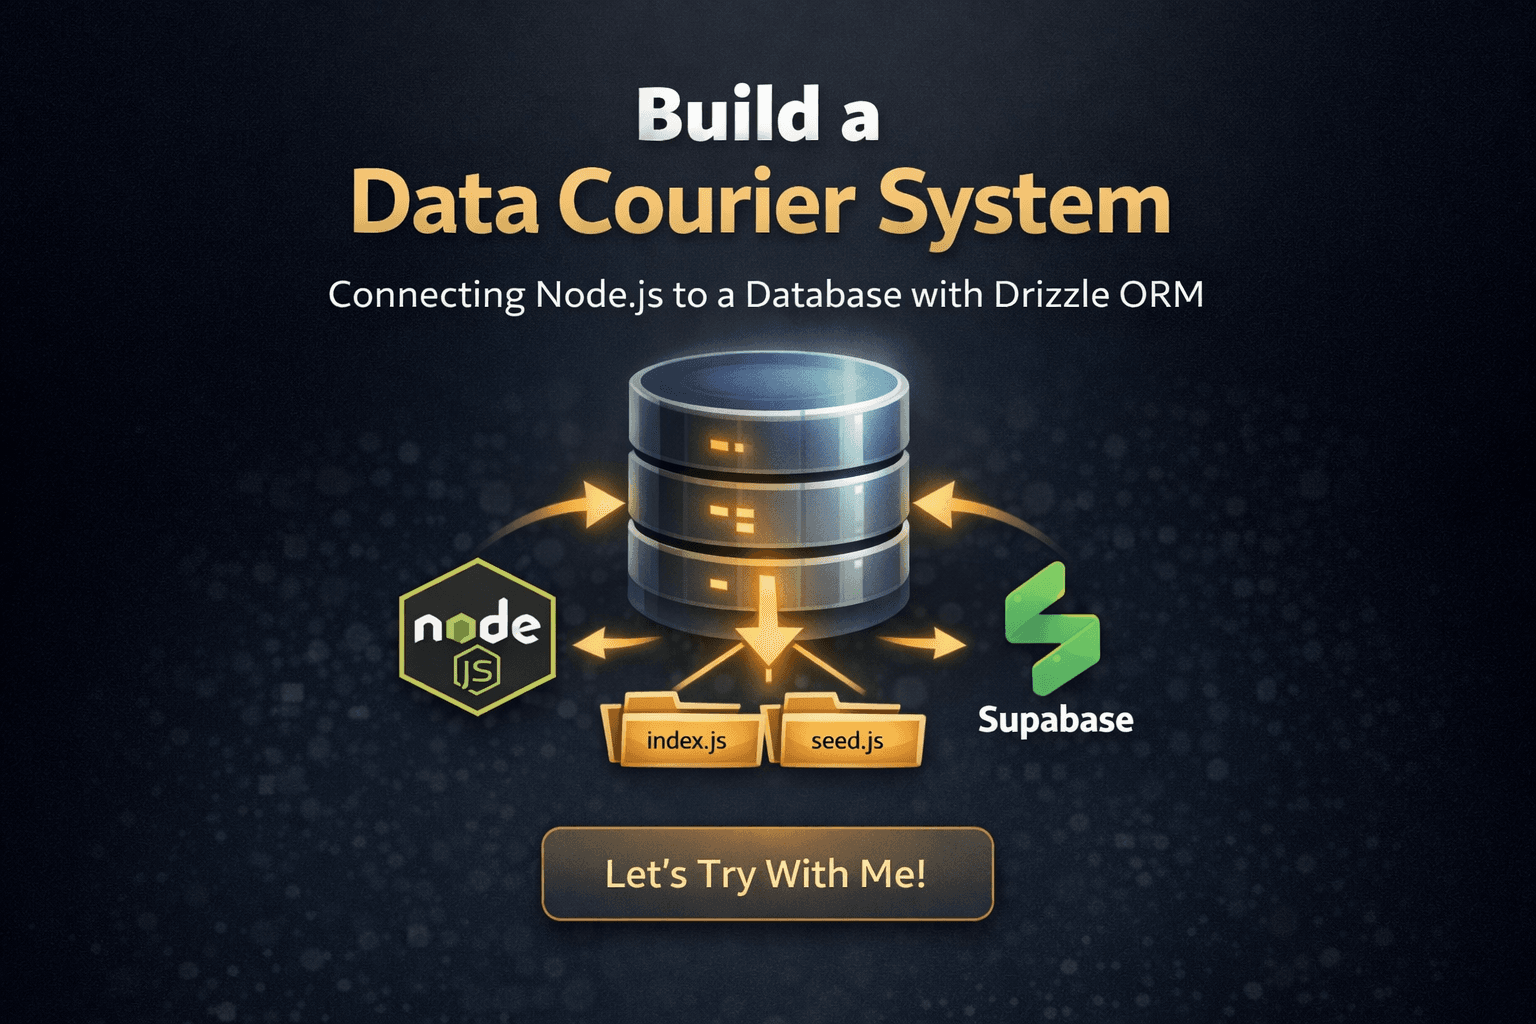
In this project, we will build a bridge that can connect an API with a database.
Hono will be the architect who designs and builds the main bridge.
Drizzle serves as the inspector who maintains type safety, This will help us prevent data and query errors, and ensure that every "vehicle" (data) that passes has the proper credentials.
The goal is simple: to create seamless and secure communication between the API and the database, and avoid various common issues.
_____________________________________________________________________________________________________
And This My Story
_____________________________________________________________________________________________________
Gearing Up (Preparation)
Before we start writing code, let's get all the tools and "ammunition" ready.
Main Tools
Visual Studio Code (VS Code): Get it here: https://code.visualstudio.com/.

Click download for windows if you use windows, else you can click other platform in below download for windows
Node.js: Make sure you have this installed. If not, you can follow the guide in your own article: http://blog.alchemists.my.id/download-node-js-and-try-with-git-bash or https://the-digital-alchemists-log.hashnode.dev/download-node-js-and-try-with-git-bash
Setting Up the Worksplace
Create Your Project Folder: Make a new folder for this project using Git Bash or your File Explorer, for example i create folder with git bash

Create Basic Structure: inside your project folder, make the following folder and files:
Create a new folder named
dbinside the
dbfolder, create three files:schema.js,index.js, andseed.js
Installing the “Troops” ( Dependencies )
Open terminal in Visual Studio Code with click CTRL + ` (Grave accent above the tab key on the keyboard)


Choose git bash

And run these commands one by one:
initialize the NPM project:
npm init -yafter initialize npm go to file package.json and add
“type“: “module“,
Install Core Dependencies: (Drizzle ORM, PostgreSQL Driver, Dotenv)
npm install drizzle-orm pg dotenvSetup
.env, create file.envand write like thisThis Query
DATABASE_URL="postgresql://[user]:[password]@[host]:5432/[name-database]"This my code
DATABASE_URL="postgresql://postgres:postgres@localhost:5432/dbproject2"
install the Server Framework: (Hono)
npm install hono @hono/node-serverinstall Development Dependencies: (Drizzle Kit for migration and Nodemon for auto-restart)
npm install -D drizzle-kit nodemonAdd Migration Script, in package.json file like this
   "scripts": {
     "db:generate": "drizzle-kit generate",
     "db:migrate": "drizzle-kit migrate",
     "dev": "node --watch server.js",
     "start": "node server.js"
   },
Configuration Drizzle kit, create file
drizzle.config.jsand write like thisimport 'dotenv/config'; export default { dialect: 'postgresql', schema: './db/schema.js', out: './drizzle', dbCredentials: { url: process.env.DATABASE_URL, }, };
Extension and Git ( optional )
API Tester Extension: install the Echo API extension in Visual Studio Code to test out API later. (Search for
Echo APIin the Extension Marketplace ).
initialize Git
git init
Congratulations, you have finished preparing the equipment.
_____________________________________________________________________________________________________
Code Code !!
_______________________________________________________________________________________________________________
Main Content
we will enter the core of the project
Create Code
db/schema.js(The Blueprint Book) 📘This file is the blueprint for your database table. Here, you tell Drizzle exactly what kind of columns the
studenttable needs.Import Tools: Import
pgTable,serial,varchar,timestampfromdrizzle-orm/pg-core
Create The Table: create table student like table student in database

run generation and migrate

db/index.js(The Bridge Guide) 🌉This file is the actual connection point. It takes the database URL from your
.envfile and creates a connection pool (like a waiting area for connections) so your Hono server can talk to the database anytime it needs to.Import Essentials: Import
drizzle, thePoolfrompg,dotenv, and your newschemaCreate Connection Pool: Set up the
Poolusing theDATABASE_URLfrom the environment.
Initialize Drizzle: Use the pool to create the
dbobject—this is the magic key you’ll use in all your API routers.
db/seed.js(The Initial Filler) 🌱This is your first round of data. Before you build the API endpoints, it's good practice to insert some initial data so you can test the "Read" functions right away.
Import Essentials:
dbfrom./index.jsand student table from./schema.js
The Main Function & Insert Data:
  import { db } from "./index.js";
  import { student } from "./schema.js";

  async function main() {
    await db.insert(student).values([
      {
        id: 1,
        name: "Jeromy Alexanderia",
        address: "12 Abdelsalam Aref Street, Alexandria, Egypt",
      },
      {
        id: 2,
        name: "Jhon Doe",
        address: "145 Willow Lane, Springfield, IL, USA",
      },
      {
        id: 3,
        name: "Xia gang",
        address: "9 Fuxing Road, Chaoyang District, Beijing, China",
      },
    ]);
    console.log(" Student data successfully seeded.");
  }

  main();
_______________________________________________________________________________________________________________
Building the Control Tower 🏗️
This is the most exciting part! In the server.js file, we're going to power up the Hono engine and connect it to Drizzle (our db Magic Key).
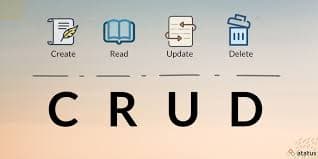
We will create five API routes to handle the full CRUD lifecycle (Create, Read, Update, Delete), allowing our database to finally 'speak' to the outside world.
Step-By-Step
Importing Essentials (Powering Up):
Honoas the core server engine,dbobject,studenttable from drizzle andeqfunction
Route [C] Create:

Route [R] Read All:

Route [R] Read One:

Route [U] Update:

Route [D] Delete:

Info about API and server initialize:

ALL Code:
 import { Hono } from 'hono';
 import { serve } from '@hono/node-server';
 import { db } from './db/index.js';
 import { student } from './db/schema.js';
 import { eq } from 'drizzle-orm';

 const app = new Hono();

 // [C] Create
 app.post('/api/student', async (c) => {
   const data = await c.req.json();
   const result = await db.insert(student).values(data).returning();
   return c.json({ error: false, data: result[0] }, 201);
 });

 // [R] Read All
 app.get('/api/student', async (c) => {
   const result = await db.query.student.findMany();
   return c.json({ error: false, data: result });
 });

 // [R] Read One
 app.get('/api/student/:id', async (c) => {
   const id = Number(c.req.param('id'));
   const result = await db.query.student.findFirst({
     where: eq(student.id, id),
   });
   if (!result) return c.json({ error: true, message: 'Not found' }, 404);
   return c.json({ error: false, data: result });
 });

 // [U] Update
 app.put('/api/student/:id', async (c) => {
   const id = Number(c.req.param('id'));
   const data = await c.req.json();
   const result = await db
     .update(student)
     .set(data)
     .where(eq(student.id, id))
     .returning();
   if (result.length === 0)
     return c.json({ error: true, message: 'Not found' }, 404);
   return c.json({ error: false, data: result[0] });
 });

 // [D] Delete
 app.delete('/api/student/:id', async (c) => {
   const id = Number(c.req.param('id'));
   const result = await db.delete(student).where(eq(student.id, id)).returning();
   if (result.length === 0)
     return c.json({ error: true, message: 'Not found' }, 404);
   return c.json({ error: false, message: `Deleted id ${id}` });
 });

 // Info about API
 app.get('/', async (c) => {
   return c.html(
     `<div><h1>Doc API</h1></div><a href="/api/student">/api/student.</a>`
   );
 });

 serve({ fetch: app.fetch, port: 5000 });
 console.log('✅ API running at http://localhost:5000');
_______________________________________________________________________________________________________________
Test Teas !!
_______________________________________________________________________________________________________________
Test Server
Run Server:


Ah ERROR!, because we don’t have data into table

Click ctrl + c for stop the server
and run the seed.js for add data into table

run server
and, yes successfully

_______________________________________________________________________________________________________________
Test CRUD API
open API extension

Click

________________________________________________________
Testing POST data to server
Select
post, fill in the url with the server address, selectbody, selectraw, selectjson, and fill in with new student data
and post data with click
Send
see the result in server, before that you can reload the server page
and error

I missed a comma, and it threw an error code, now i delete comma after address

Oke Successfully!
________________________________________________________
Testing Read data
Select
GET, and fill the url with server address for read, we have 2 url for read, one for read all and more for read one data
read for all

read for one data, like read for all but adding data id at the end url

________________________________________________________
Testing Update data
choose put for update data, and for url same with read one data, and you can add new data in body select raw select json dan write new data like write for post

this result after we update data, we will see the data that after being updated will be in last place

________________________________________________________
Testing Delete data
Select Delete and fill url like update or read more

This result after we delete data, and we can see that the data with ID 2 was successfully deleted

_______________________________________________________________________________________________________________
Closing
And that's it! 🎉 You've now successfully built a simple CRUD application. You’ve mastered the fundamentals: creating, reading, updating, and deleting data. The bridge is complete, and the data is flowing smoothly!
From here, you can try to:
Add more features, such as a search function or pagination.
Integrate with a frontend framework (like React or Vue) to build a full web application.
Create a more engaging user interface.
Thank you, Gemini, for following this entire journey! The process of writing and arranging this article was made easier because you served as the editor, writing organizer, and idea debugger.
See you in the next project!
_____________________________________________________________________________________________________